Bắt đầu từ câu trả lời Oskar của (nhờ cho bạn đóng góp) i tạo ra một dự án ví dụ đơn giản để quản lý Trượt nút (ngang và dọc): https://github.com/rcaboni/AndroidSlideButton
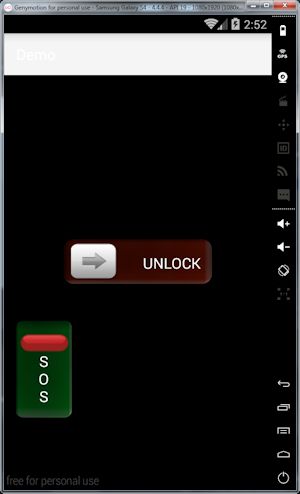
Đối với một ảnh chụp màn hình: https://raw.githubusercontent.com/rcaboni/AndroidSlideButton/master/screenshot.jpg
Đây là phương pháp chính:
public boolean onTouchEvent(MotionEvent event) {
    if (!isEnabled()) {
     return false;
    }
    if (orientation == ORIENTATION_HORIZONTAL) {
     if (event.getAction() == MotionEvent.ACTION_DOWN) {
      int x= (int) event.getX();
      int y= (int) event.getY();
      if (thumb.getBounds().contains((int) event.getX(), (int) event.getY())) {
       super.onTouchEvent(event);
      } else
       return false;
     } else if (event.getAction() == MotionEvent.ACTION_UP) {
      if (getProgress() > 70)
       handleSlide();

      setProgress(0);
     } else
      super.onTouchEvent(event);
    }else{
     int i=0;
     switch (event.getAction()) {
      case MotionEvent.ACTION_DOWN:
       if (event.getAction() == MotionEvent.ACTION_DOWN) {
        int x= (int) event.getX();
        int y= (int) event.getY();
        if (!thumb.getBounds().contains((int) event.getY(), (int) event.getX())) {
         return false;
        }
       }
      case MotionEvent.ACTION_MOVE:
       i=getMax() - (int) (getMax() * event.getY()/getHeight());
       setProgress(100 - i);
       onSizeChanged(getWidth(), getHeight(), 0, 0);
       break;
      case MotionEvent.ACTION_UP:
       i=getMax() - (int) (getMax() * event.getY()/getHeight());
       if (i < 30) {
        handleSlide();
       }
       setProgress(0);
       onSizeChanged(getWidth(), getHeight(), 0, 0);
       break;

      case MotionEvent.ACTION_CANCEL:
       break;
     }
    }
    return true;
}
XML cho nút dọc:
<RelativeLayout
    android:layout_width="75dp"
    android:layout_height="130dp"
    android:background="@drawable/slide_background_green"
    android:id="@+id/lSlideButtonV"
    android:layout_below="@+id/lSlideButton"
    android:layout_marginTop="50dp">
    <TextView
     android:layout_width="20dp"
     android:layout_height="match_parent"
     android:text="SOS"
     android:id="@+id/tvSlideActionV"
     android:gravity="center|bottom"
     android:layout_alignParentRight="false"
     android:layout_alignParentEnd="false"
     android:layout_alignParentLeft="false"
     android:layout_alignParentStart="false"
     android:textSize="20dp"
     android:textColor="@android:color/white"
     android:layout_alignParentTop="false"
     android:layout_centerHorizontal="true"
     android:layout_alignParentBottom="false"
     android:layout_marginBottom="15dp" />
    <it.aldea.android.widget.SlideButton
     android:id="@+id/unlockButtonV"
     android:layout_width="match_parent"
     android:layout_height="150dp"
     android:clickable="false"
     android:max="100"
     slideButton:orientation="vertical"
     android:progressDrawable="@android:color/transparent"
     android:thumb="@drawable/slide_track_red"
     android:indeterminate="false"
     android:layout_marginRight="5dp"
     android:layout_marginTop="20dp"
     android:layout_centerInParent="true"
     android:layout_marginBottom="10dp"
     android:thumbOffset="-2dp">
    </it.aldea.android.widget.SlideButton>

</RelativeLayout>
Nó không phải là một phụ tùng hoàn toàn thực vì được sáng tác từ hai view (TextView và SlideButton) vào một Layout, nhưng đó là một giải pháp có thể cấu hình dễ dàng cho Slide Nút với văn bản bên trong. Tôi hy vọng điều này hữu ích cho ai đó.
Mặc dù mã cần một số tinh chỉnh (trong trường hợp của tôi ít nhất) đây là cách dễ nhất để tạo "trang trình bày cho bạn nlock "feat trên android. Lam tôt lăm! –
@Jignesh Ansodariya: Xin chào, tôi đã sử dụng cùng một khái niệm để mở khoá màn hình/khóa nhưng tôi không thể vô hiệu hóa thanh tìm kiếm trên máy ảnh – Aerrow